Create or open a project
If this is your first time working with 8th Wall, we strongly recommend downloading and opening an example project instead of creating a new project from scratch.
Create a project
- From the hub view, click New Project
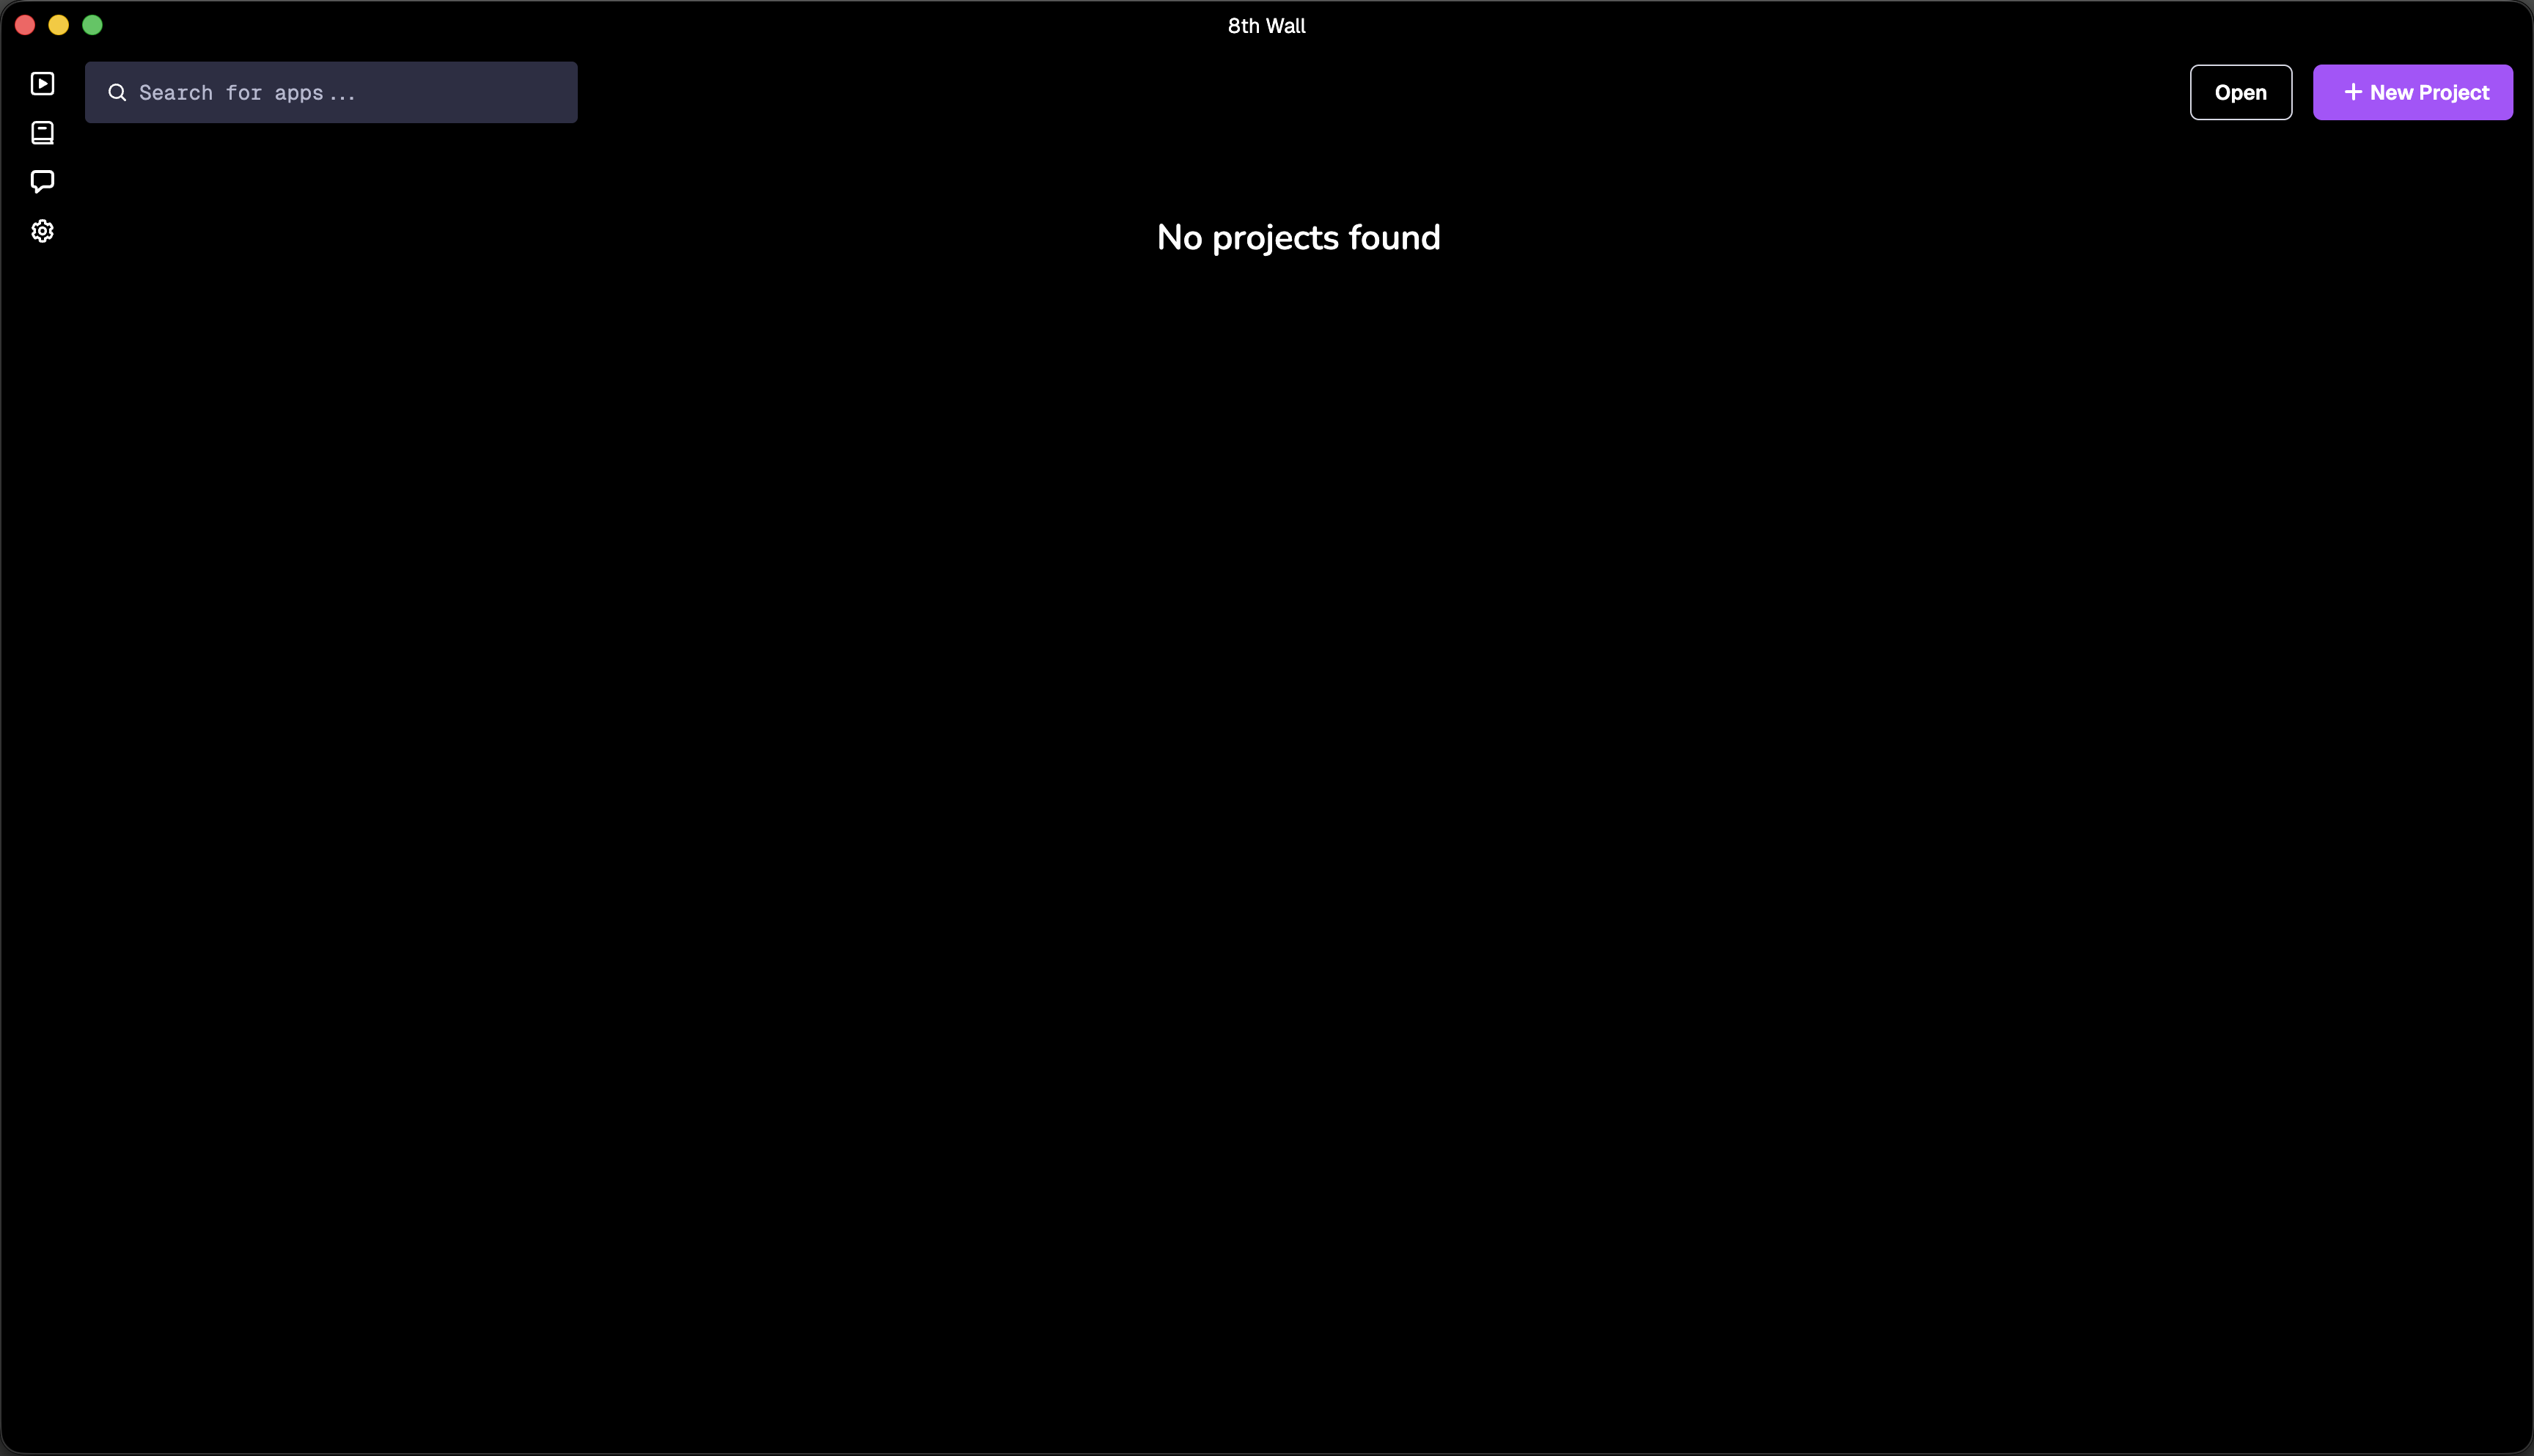
- Enter the Project Title.
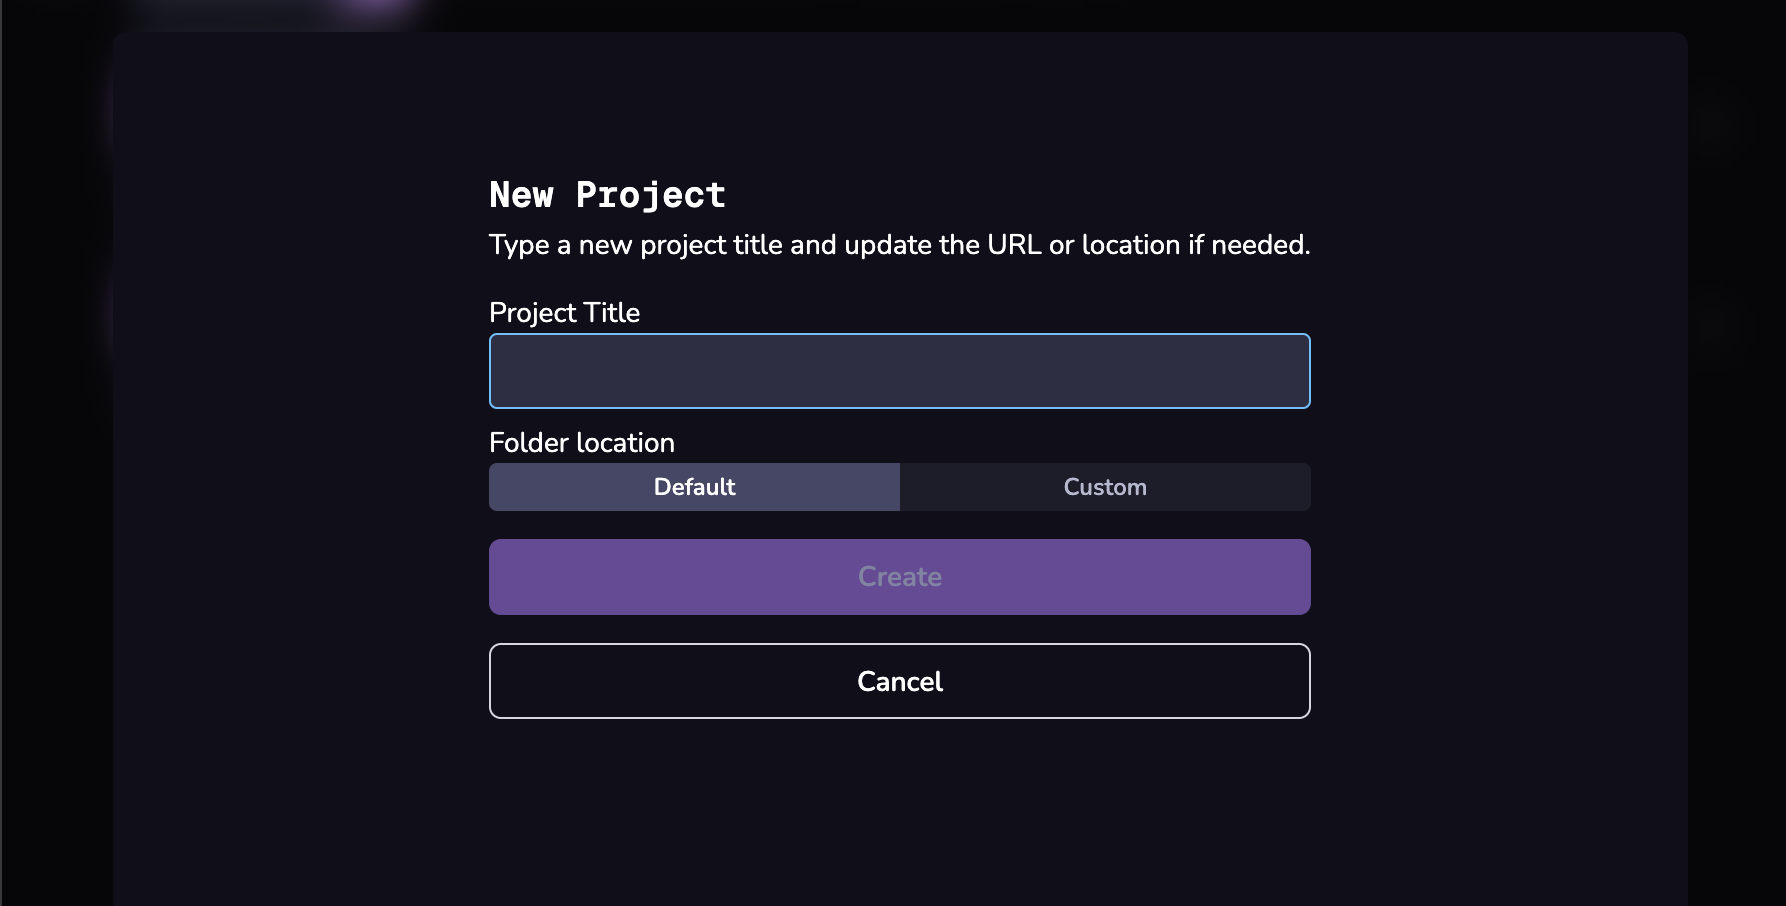
- Click Create.
Open a project
You can clone a variety of Studio projects from the examples folder in the 8th Wall GitHub repository: https://github.com/8thwall/8thwall/tree/main/examples
-
From the hub view, click Open
-
Select the root folder of a Studio project
Project Actions
In the Studio hub view, you can move, delete, and find projects using the Project Actions menu (...) button next to each project:
- Reveal in finder: opens your local file browser to project’s location
- Remove from list: remove the project from the list, leaving the files on disk untouched
- Change disk location: opens your file browser to select a new folder location for your project to move to
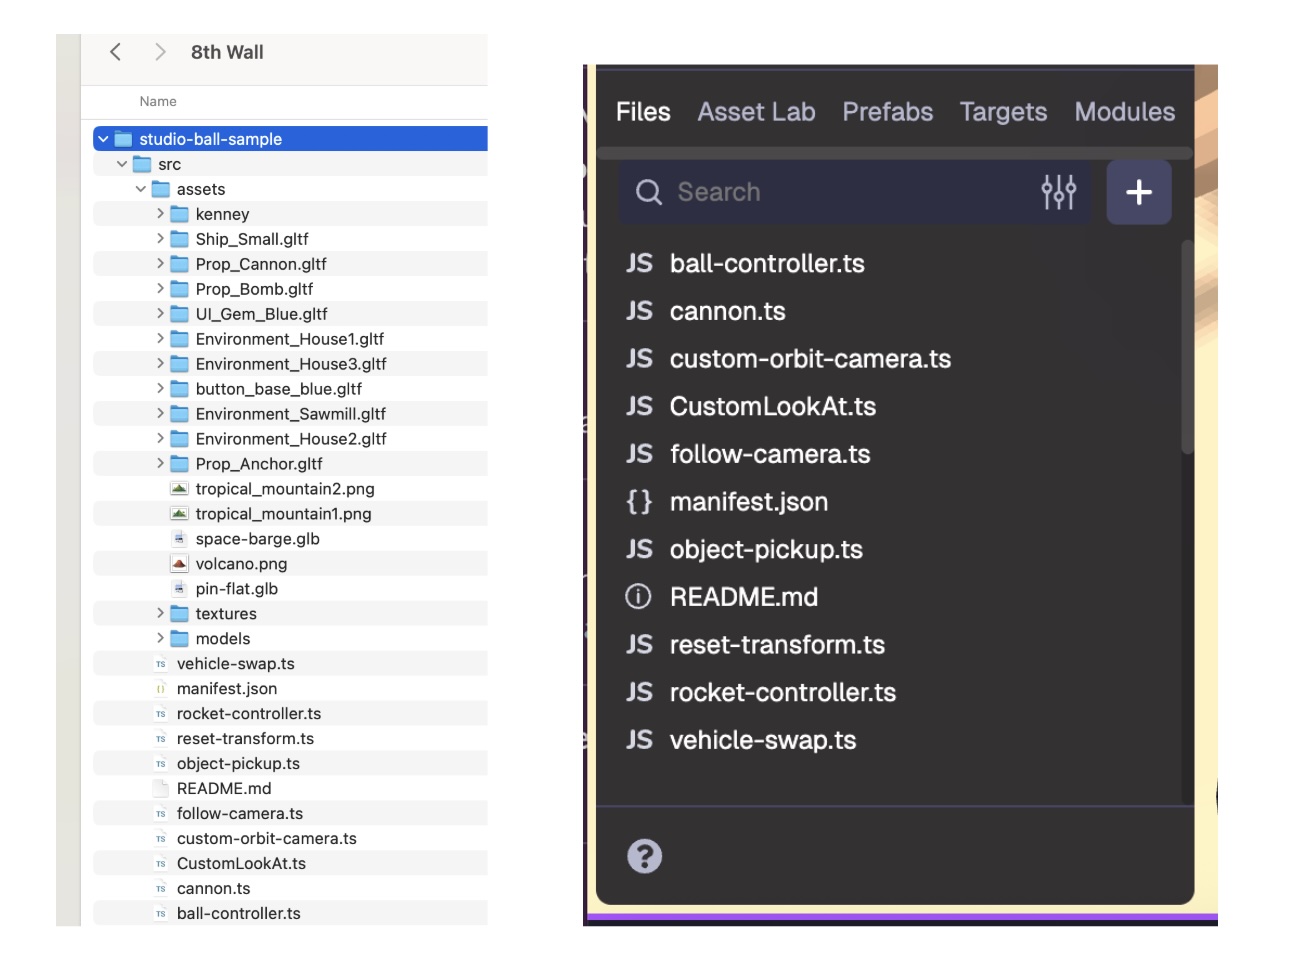
Project Structure
When you create or open a project for the first time, a local version of the project is added on your machine within ~/Documents/8th Wall/. By default, the 8th Wall folder is created within your Documents folder, but you can change this by moving the 8th Wall folder to another location if preferred.
The folder created for your project will include certain files and folders by default. The src folder mirrors the Project file directory you see in Studio. This folder is a directory within your project's file structure where you store files like component scripts, as well as assets like images, fonts, sounds, or other media that your project needs.
Do not attempt to copy these files to another server. To publish and share your experience, see documentation on publishing your project.